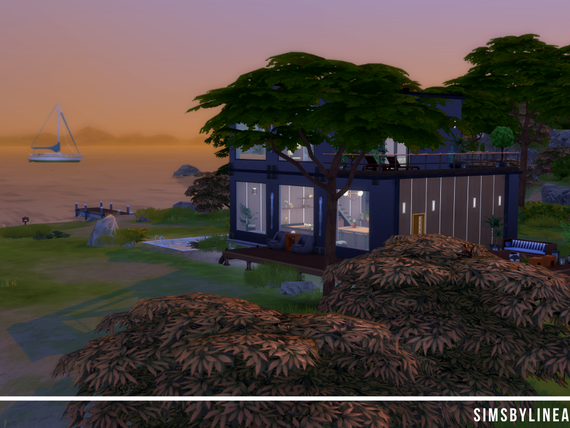
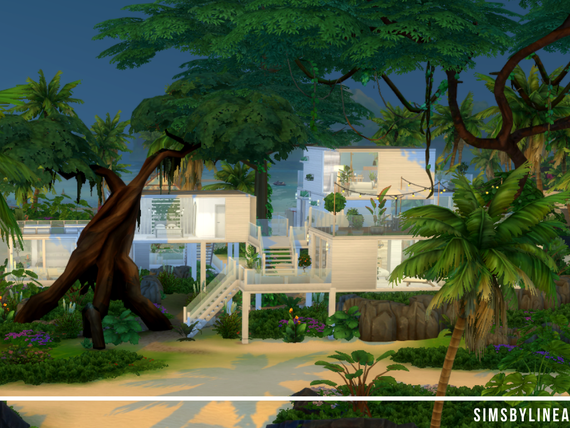
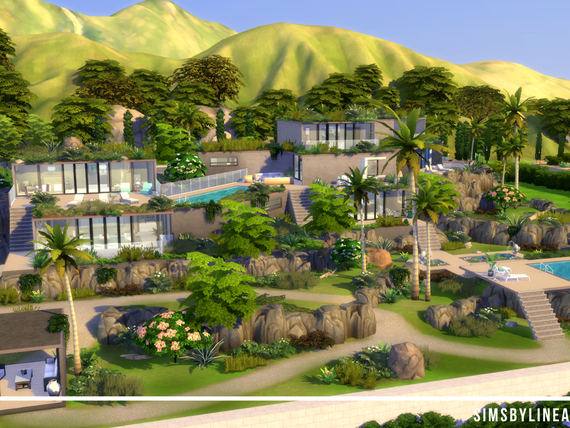
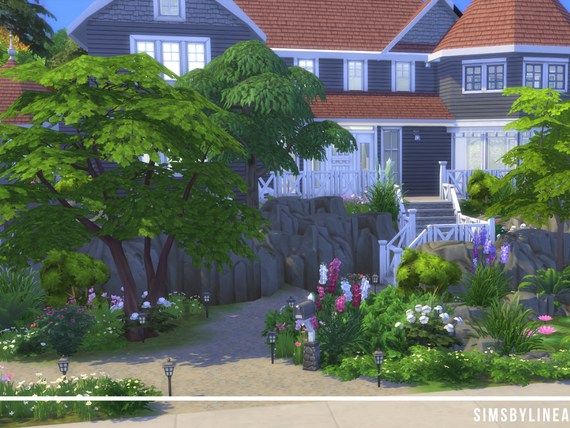
In The Sims, there is no such thing like, more is less, or realism is the way to go... There are no rules and there is no way to do it right. Every build and every creation has its own mood, its own style and its own background story. That is why it is difficult to say that these are the do’s and don’ts regarding landscaping and this is the only way to do it.
But since I have been playing The Sims for more than 15 years now, there are some things I learned that I would like to share with you.
Surroundings
In reality, the location of your house determines the kinds of plants and landscaping you have. Because palm trees just don’t grow that well in cold weather, you know what I mean?
And that is something that also applies to the sims, in terms of realism. When preparing to build something, look at the neighborhood and the landscape that surrounds your lot. You can find all the items and plants that are in the neighborhood in your build and buy catalog, some of them even without accessing the debug items.
For your plants, select those that match the neighborhood. In Willow Creek, willows are always a good idea, and in Oasis Springs, palm trees are your best friend. Keep in mind that every house owner will plant some trees, bushes and flowers themselves, so of course you can add things you don’t see in your immediate environment too. Finding a good mix is important.
Colors
I personally am a fan of lush green gardens with only white flowers. Of course, everyone should find their own style and should decide what fits their build best However, I recommend to always stick to just one or two colors, that are repeated outside and inside the house. Having a theme is a good way to make your build look harmonic.
Terrain Paint
I am sure you know how planting flowers or a tree works. Without soil you won’t get far.
That is why it is important to use the terrain paint when landscaping, because it will make your garden look realistic. Add soil under every plant / bush / tree you put down. Don’t be afraid to mix and match, and play with the opacity of the paint brush. Using multiple colors of soil, sand and grass will create a smoother look, and it allows you to make transitions from soil to grass more easily.
I also always have a look at the surroundings of my lot before choosing my terrain paint. In Windenburg for example, there are spots that have lots of dirt, sand and rocks, and in Sulani, you'll find a lot of sand, which you can just repeat on your own lot.
—> A small tip would also be to add some soil to the edges of your house or your foundations, as well as paths and fences. Grass can’t grow under foundations and concrete, which means that there will always be a small area of soil where concrete or other materials meet the grass. You can see that in the picture below, where I added soil to the roots of the tree as well as the foot of the pillar in the front!
Terrain Tool
When it comes to using the terrain tool, I advise to have a look at some tutorials like this one and this one. There are a few tips and tricks that are good to know before start playing around with it, and it will save you a lot of tears when you have a look at how the different brushes work before you actually try it yourself. I speak from experience.
Once you know how it works in general, it is fun to experiment with it. Making houses built on top of hills, or creating some natural slopes in your garden is easier than it seems. There really is no right way of doing this, and there is always room to learn more. I love to combine the debug rocks and plants with my landscaping, because those allow you to give it all an extra bit of realism.
—> You can access the debug items by opening your cheat console in game, while already being on the lot you want to build on, and entering a series of cheat codes after another: „testingcheats true“ „bb.showhiddenobjects“ and „bb.showliveeditobjects“. Of course, „bb.moveobjects on“ and „bb.ignoregameplayunlocksentitlement“ (when you have sims present on your lot) are very handy too!
Choose rocks and plants that match your surroundings, just as stated before. It always help me to filter the debug items according to the world I am building it, so for example if I am building in Brindleton Bay, I will mostly use debug items that came with Cats and Dogs and the Basegame.
By the way, I think that the large, long rock formation from Cats and Dogs is the best one to use to cover up ugly hill slopes and edges, because they sink into the terrain just enough to make it look natural.
Once you are familiar with the terrain tool and the paint, it is so much fun to create new kinds of houses and use your lot in a totally different way than before.
Don't forget to follow me on Instagram and Twitter to see my creations!


Write a comment